FANCY + FROCKTAIL '24 COMING MAY 4TH
Don't miss out on the fun next time. Sign up now and be the first to receive exclusive announcements, updates, and more.
Relive The Moments!
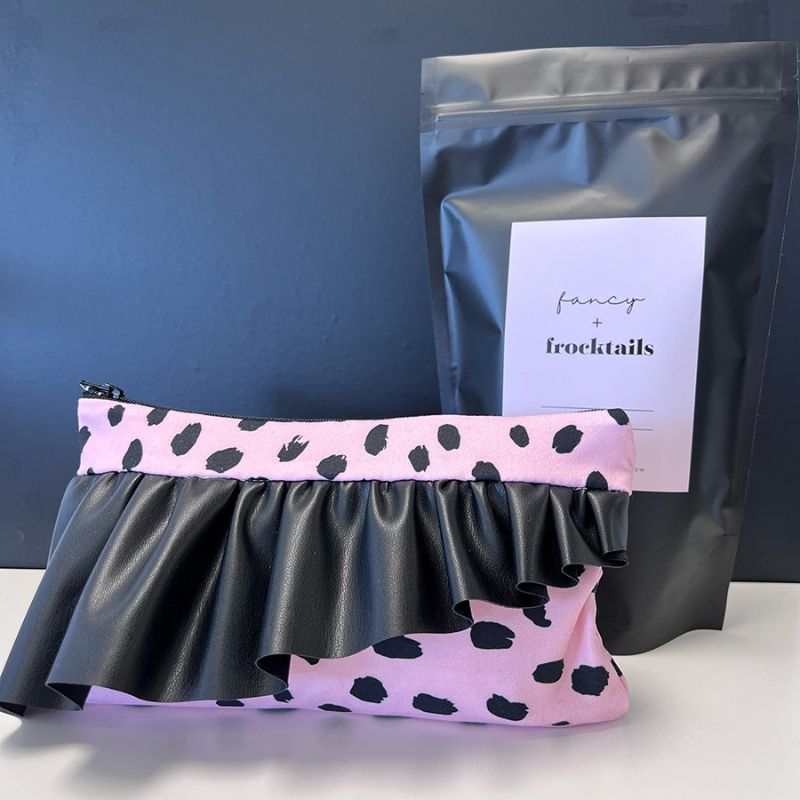
Time To Get Crafty with the Frocktail Swag Project!
We've put together this super fun and trendy DIY project for you to create a chic zipper pouch with a ruffle detail. Follow the step-by-step instructions below:
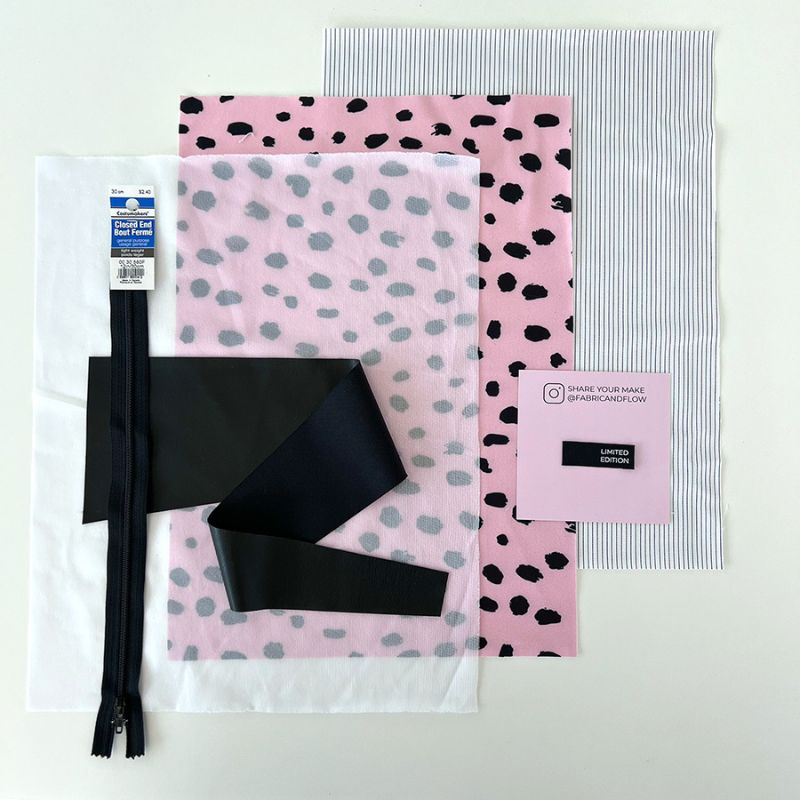
Materials You'll Need:
- Outer fabric (Pink polka dot)
- Lining fabric (Stripe)
- Interfacing (light weight)
- 12-inch zipper (you can trim it down)
- Ruffle fabric (pleather)
- Label
- Coordinating thread
- Scissors
- Sewing machine
- Iron and ironing board
- Pins
- Ruler or measuring tape

Step 1. Prepare Your Fabric
Cut your fabric pieces:
- Outer fabric: 1 pieces measuring 10" x 6.5" (for front and back)
- Lining fabric: 1 pieces measuring 9.5" x 6.5"
- Interfacing: 1 piece measuring 10" x 6.5"
- Ruffle fabric: 1 strip as supplied
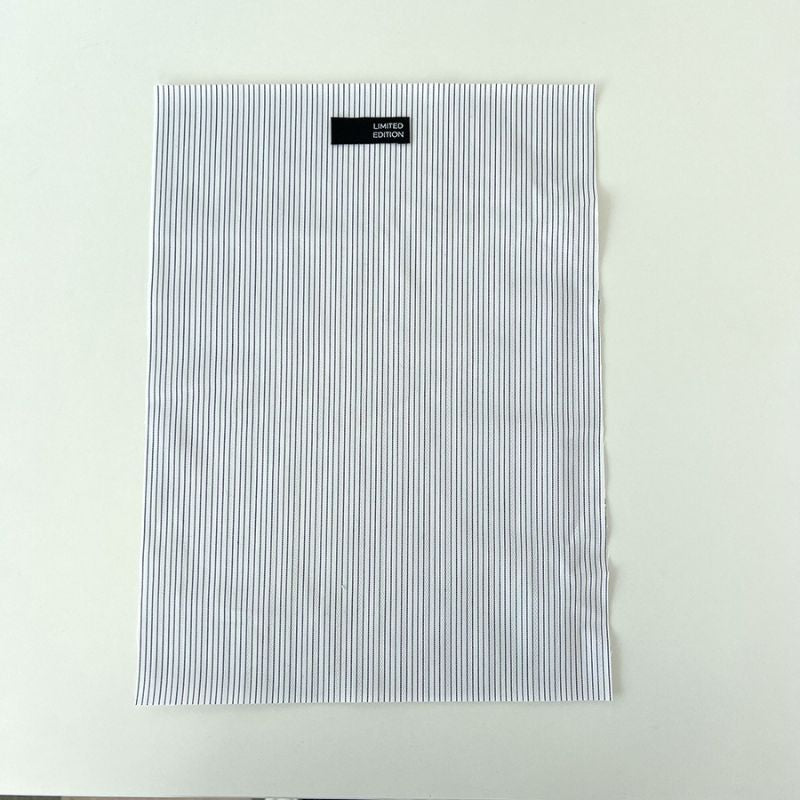
Step 2: Attach the Label
Top stitch the label to the lining. The actual location can vary according to your preference.

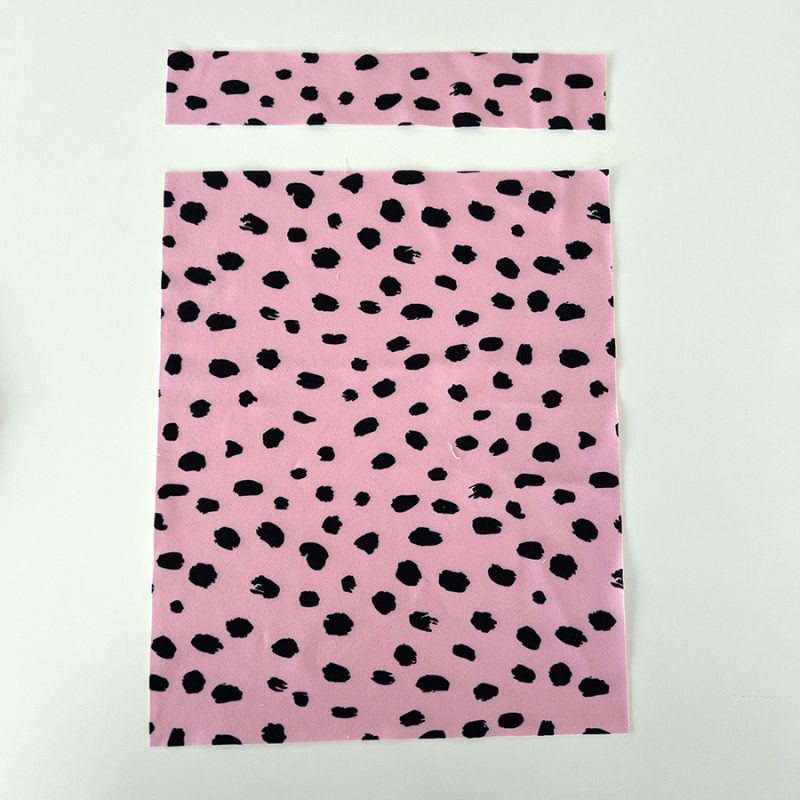
Step 3: Apply Interfacing and Trim Outer Layer
Iron the interfacing onto the wrong side of the pink dot fabric following the manufacturer's instructions.
Then, cut the pink dot fabric into two pieces: 1.5" x 6.5" and 7.5" x 6.5".
Step 4: Create the Ruffle Detail
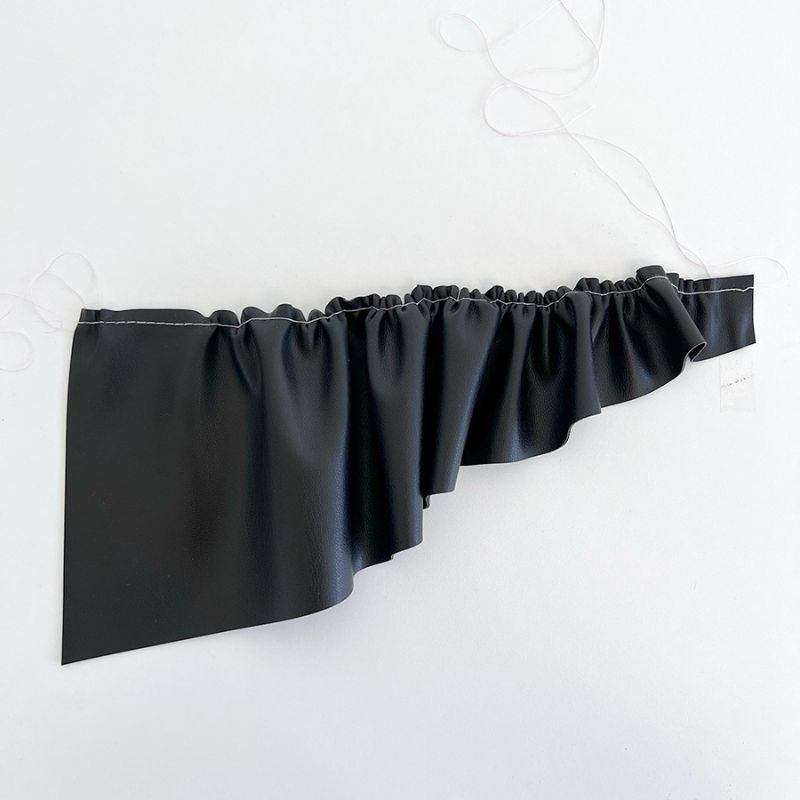
Run a basting stitch along the top long edge of the pleather, about 1/4 inch from the edge.
Gently pull the bobbin thread to gather the ruffle, ensuring it matches the width of your front fabric piece.

Step 5: Attach the Ruffle
Pin the gathered ruffle to the right side of the larger pink dot piece. Baste stitch this to the front side of the top edge of the 6.5"x7.5" piece. Place the 1.5"x6.5" strip over both and stitch together. Open and press flat, then top stitch along the top edge.


Step 6: Prepare the Zipper
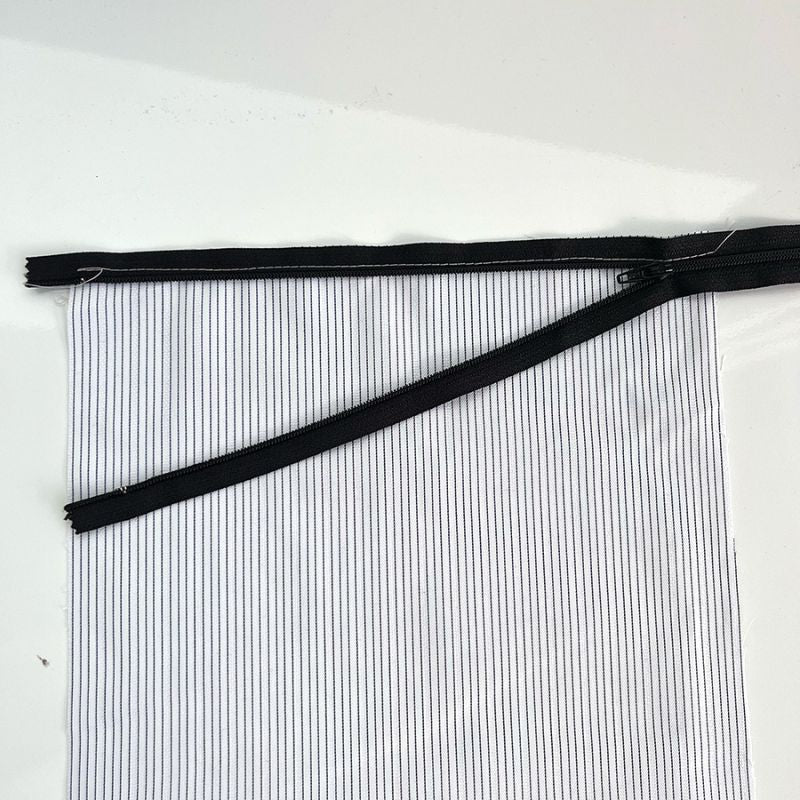
Place one lining piece right side up. Lay the zipper face down on top, aligning the zipper tape with the top edge.
Place one outer fabric piece (with the ruffle) right side down on top of the zipper. Pin all layers together and stitch along the top using your zipper foot.
Step 7: Repeat for the Other Side
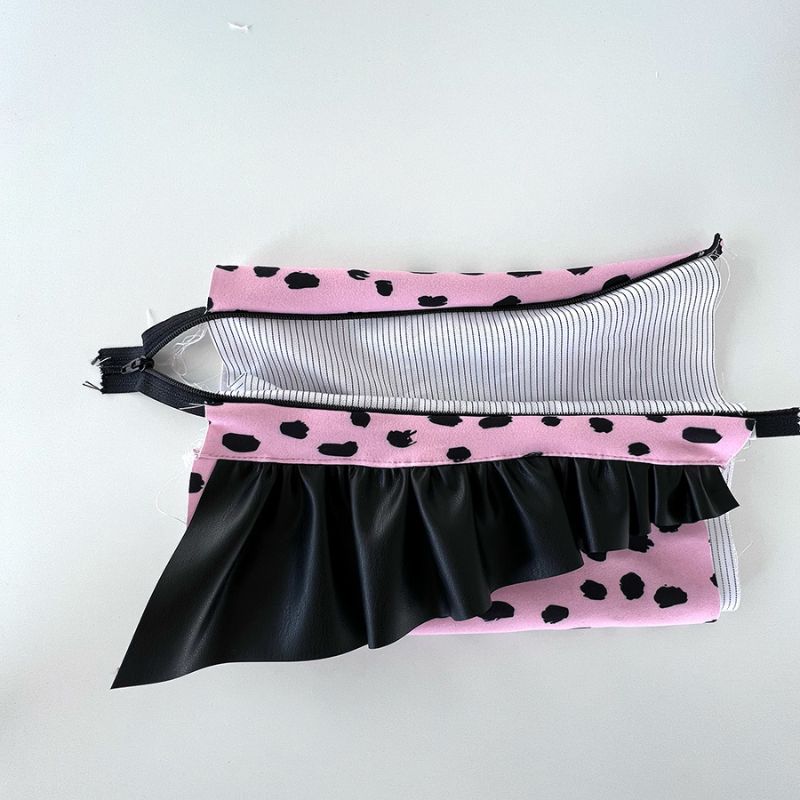
Follow the same process on the other side of the zipper. Once stitched, fold and press.

Step 8: Sew the Sides
Unzip the zipper halfway. Fold the pouch in half with the right sides together and pin the sides. Stitch along the sides, leaving a 1/4 inch seam allowance. On one edge, leave a 2" opening. Trim any excess fabric and zipper, then clip the corners.


Step 9: Finish the Pouch
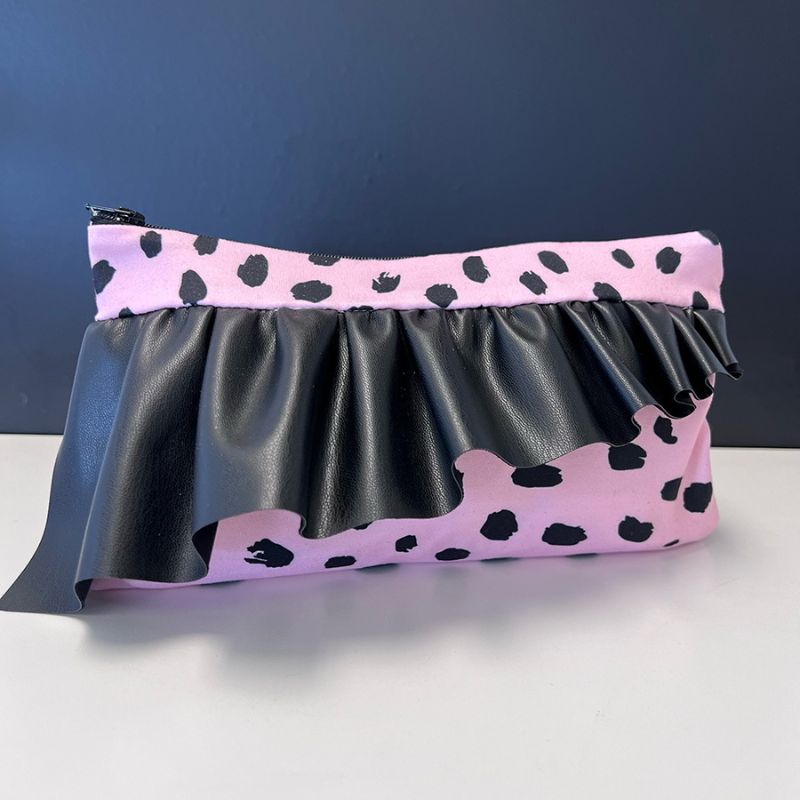
Turn the pouch right side out through the open side. Push out the corners and press the pouch flat.
Stitch the opening closed on the lining. Trim any loose threads, and voilà! Your zipper top pouch with a ruffle detail is ready to flaunt!


